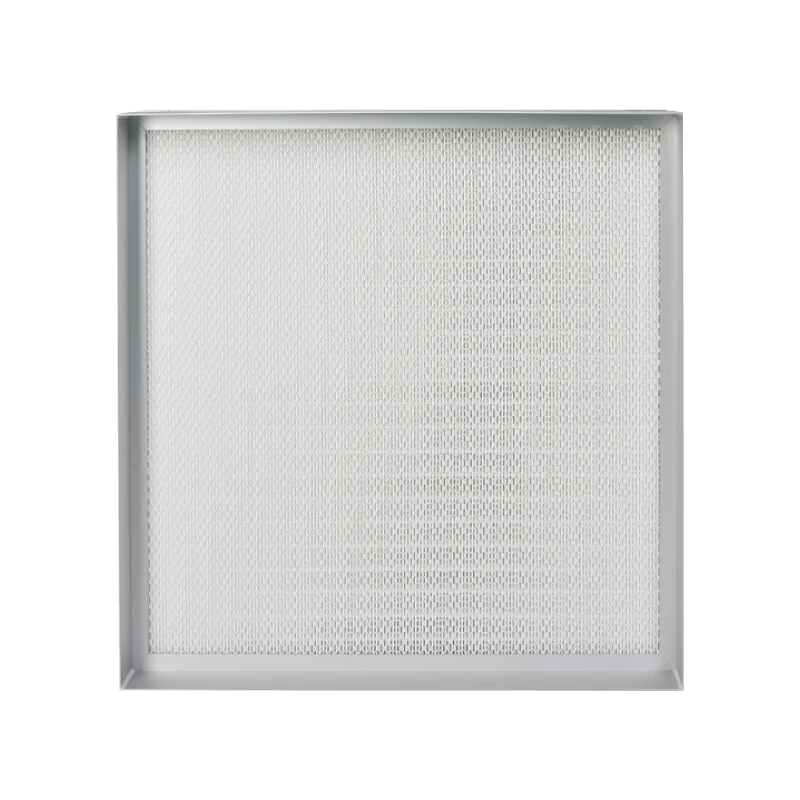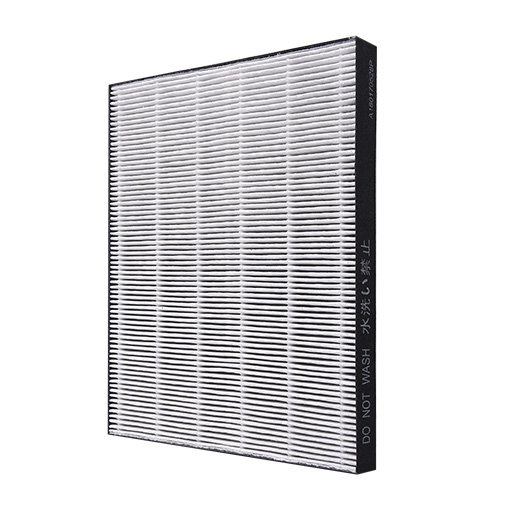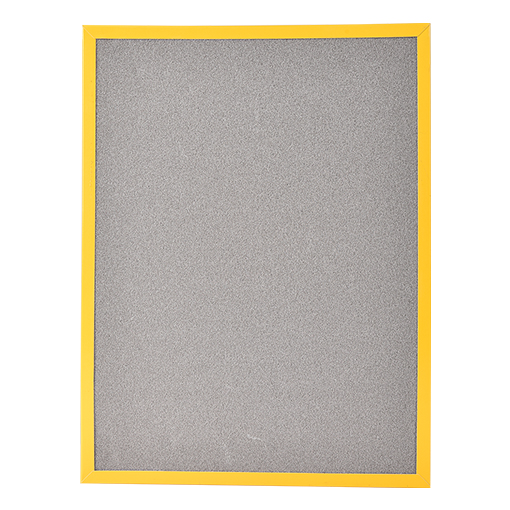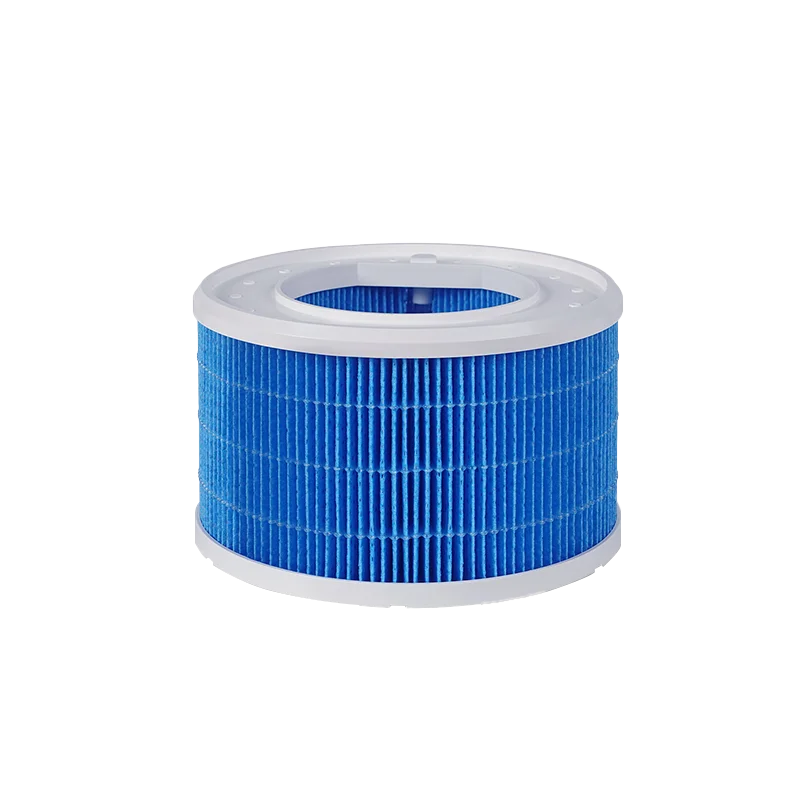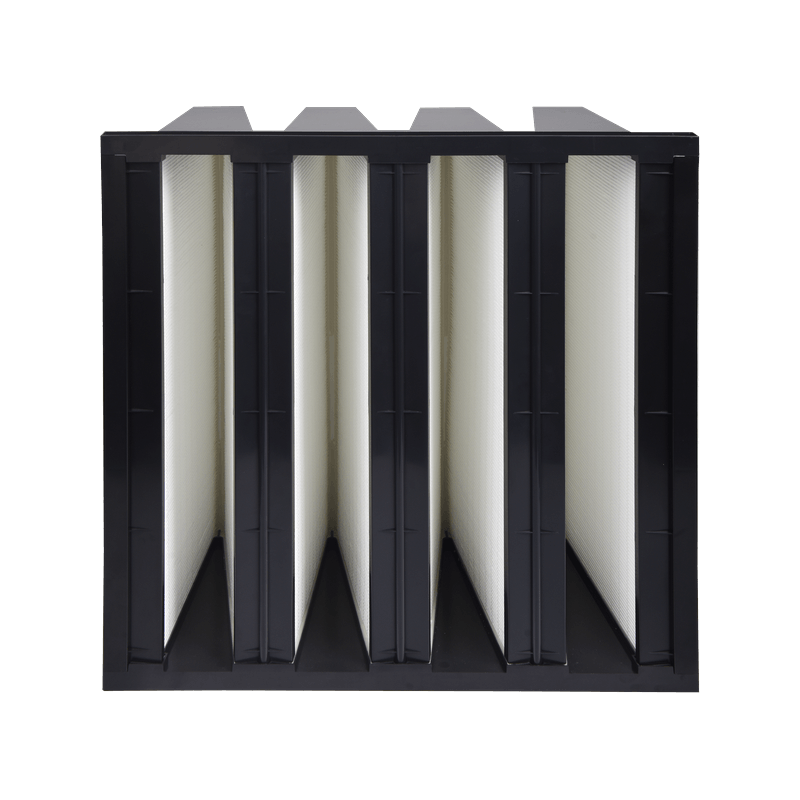
Air purifier filter installation; how to reset the filter-life indicator; how to replace an air purifier filter
An air purifier filter installation tutorial walks through four stages: preparation, installation, inspection, and precautions. Before installing, switch off the power, confirm the filter model, and remove the plastic packaging. During installation, open the filter compartment in order, take out the old filter, then slide the new filter (pre-filter, HEPA/activated-carbon, or composite) into the slots, aligned with the airflow direction, and finally close the compartment door. After installation, reset the filter-life indicator and run a power-on test to confirm normal operation. Precautions include avoiding squeezing or touching the filter fibers, checking and replacing every 3–6 months, and noting that a new activated-carbon filter may give off a brief odor on first use. The whole process stresses correct orientation and a proper seal to ensure purification performance.
I. Preparation Before Installation
Switch off the power: Unplug the air purifier’s power cord to ensure safety.
Confirm the filter type: Check that the new filter matches your model (e.g., HEPA filter, activated-carbon filter, or composite filter).
Remove the packaging: Tear off the outer plastic protective film on the filter (if any) — otherwise it will compromise purification performance.
II. Filter Installation Steps
1. Open the filter compartment
- Method A: Lift off the top cover directly (common on top-intake designs).
- Method B: Press or slide the side/rear compartment door (some models require holding a latch).
2. Remove the old filter
- Pull the old filter out gently, taking care to avoid raising dust.
- For multi-layer filters (e.g., pre-filter + HEPA + activated carbon), remove them in order and note their positions.
3. Install the new filter
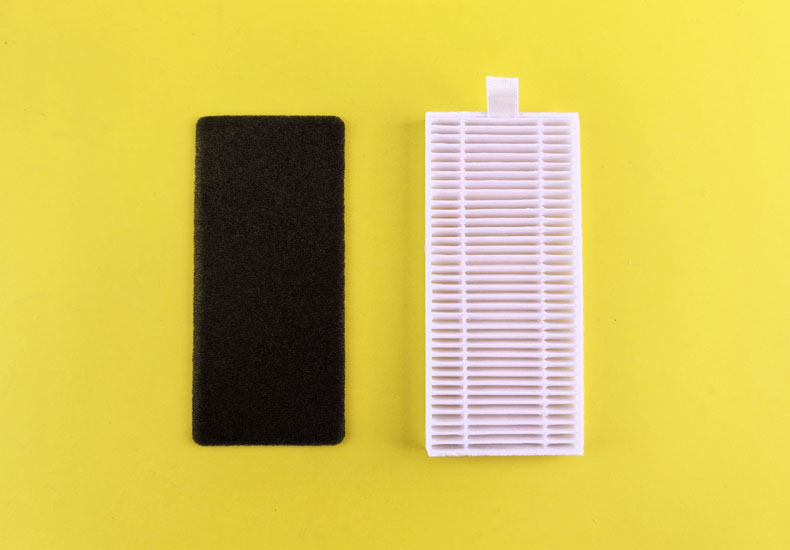
- Pre-filter: Usually a washable nylon mesh; align it with the slots when installing.
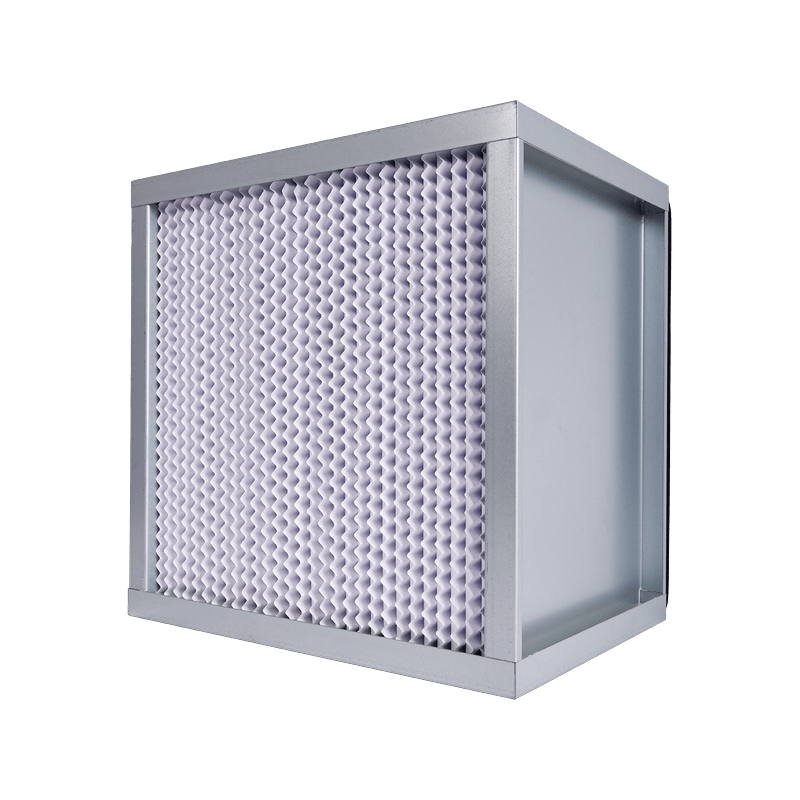
- HEPA / activated-carbon filter: Pay attention to the filter orientation — there is generally an arrow mark (the arrow points in the direction of airflow, usually toward the inside of the unit). Align it with the recess or magnetic seat inside the compartment and push it gently all the way in.
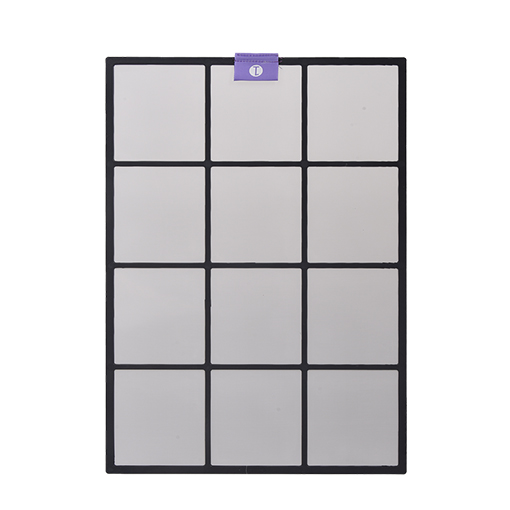
- Composite filter: Make sure the front and back are correct (refer to the label on the filter edge).
4. Close the filter compartment
- Press the top cover down or close the compartment door firmly to ensure it is fully shut (a “click” sound indicates it is locked).
III. Inspection After Installation
- Reset the filter-life indicator (if equipped):
Long-press the “Reset” button on the unit for 3–5 seconds, or reset via the app (see the manual).
- Power-on test:
After powering on, observe whether it runs normally and confirm there is no abnormal noise or error message.
IV. Precautions
✖ Do not force-squeeze or fold the filter, as this may damage the filter media.
✖ Avoid touching the filter’s inner fibers during installation (especially the HEPA filter).
✔ Check the filter every 3–6 months, and replace it promptly when heavily soiled.
✔ A brief odor when first using a new filter (common with activated-carbon filters) is normal.
For air filtration, trust LANSIR. A “little-giant” specialized and innovative high-tech enterprise with 13 years of filtration know-how and a full air-filtration solutions provider. Custom filters and fresh-air system integration — contact LANSIR Environmental Technology.